Photographing artwork is a crucial skill for artists looking to share their work online and reach a wider audience. While hiring a professional photographer may not always be feasible, there are several tips and techniques you can use to capture your artwork flawlessly. In this article, I will provide expert advice on how to photograph artwork like a pro, ensuring your pieces are showcased in the best possible way.
Key Takeaways:
- Choosing the right lighting is crucial for capturing the true colors and details of your artwork.
- Using a digital single-lens reflex (DSLR) camera and tripod can help achieve professional-quality photographs.
- Fine-tuning camera settings such as white balance and exposure can significantly enhance artwork photography.
- Special techniques are required for photographing textured and dimensional artworks.
- By following these expert tips, you can improve the quality and accuracy of your artwork photographs.
Choosing the Right Lighting for Artwork Photography
Lighting plays a crucial role in capturing the true colors and details of your artwork. Ensuring proper lighting techniques can result in stunning photographs that accurately represent your art. Whether you’re photographing your artwork outdoors or indoors, understanding how to manipulate lighting conditions is essential.
Outdoor Photography
When photographing artwork outdoors, the weather and time of day can greatly impact your results. Cloudy and overcast days are ideal as they act as natural diffusers, eliminating harsh light and shadows. This soft, even lighting creates a balanced environment for capturing the colors and textures of your artwork.
“Outdoor photography presents an opportunity to utilize natural light to showcase your artwork in the best possible way. Take advantage of cloudy days to achieve stunning results.”
Indoor Photography
Shooting artwork indoors requires more careful consideration of the lighting setup. It’s crucial to ensure that your artwork is not exposed to multiple light sources, as this can create uneven lighting and distort the colors and details of your art. Additionally, all light sources should have the same temperature to maintain consistency throughout your photographs.
For indoor photography, you have two main options for lighting: natural daylight or artificial lighting setups. Natural daylight provides a soft, diffused light that closely resembles outdoor lighting conditions. If you choose to use artificial lighting, ensure that the bulbs have a consistent color temperature and are positioned to create even illumination across your artwork.
- Place your artwork near a large window where it can receive ample natural light.
- If using artificial lighting, set up softbox lights or light panels to achieve even illumination.
- Avoid mixing different types of lighting, such as fluorescent and incandescent, as they have different color temperatures.
By selecting the appropriate lighting conditions for your artwork photography, you can ensure that your photographs accurately capture the colors, textures, and details of your art.
Image: Capturing the intricate details of artwork through photography.
Camera and Equipment Setup for Artwork Photography
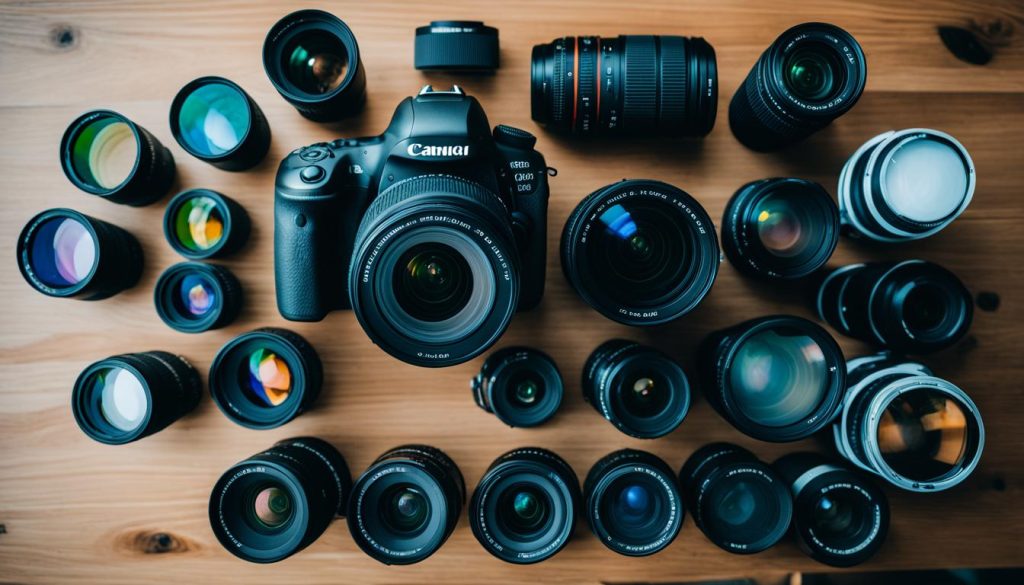
To achieve professional-quality photographs of your artwork, using a digital single-lens reflex (DSLR) camera is recommended. The versatility and image quality offered by DSLR cameras allow you to capture the intricate details and vibrant colors of your artwork with precision.
If you don’t own a DSLR camera, don’t worry. Consider renting one from a local equipment rental company or borrowing from a friend. This way, you can still benefit from the advanced features and capabilities of a DSLR camera without having to make a significant investment.
When photographing your art, it’s important to ensure that the camera remains steady to eliminate any blurriness. Using a tripod is an excellent way to achieve stability and maintain sharp, well-focused images. If you don’t have a tripod, you can stabilize the camera by placing it on a stack of books or any other flat surface.
Setting the camera to the highest resolution allows you to capture your artwork in exceptional detail, ensuring every brushstroke and texture is accurately represented. Additionally, using an appropriate lens, such as a macro lens, can enhance image clarity and capture even the finest details of your artwork.

By using a DSLR camera, stabilizing the camera, and optimizing the camera settings, you can capture your artwork in stunning detail and prepare it for display on an online gallery or any other platform.
Techniques for Enhancing Artwork Photography
Fine-tuning certain camera settings can significantly improve artwork photography. As an artist, it’s crucial to capture your artwork with precision and accuracy. Here are some expert techniques to enhance the overall quality of your artwork photographs:
- Adjusting White Balance: Manually adjusting the white balance ensures accurate color representation in your photographs. This is especially important when photographing artworks with subtle color variations. By setting the white balance according to the lighting conditions, you can maintain the true colors of your artwork.
- Exposure Blending: When photographing artworks with high contrast, such as pieces with bright highlights and deep shadows, exposure blending can be a useful technique. By taking multiple photographs with different exposures and blending them together, you can capture a wide range of values, revealing the intricate details of your artwork.
- Shooting Reflective Art: Photographing reflective art, such as glass sculptures or metallic surfaces, can be challenging due to glare and reflections. To minimize glare, place a dark-colored sheet in front of the camera to absorb excess light. This technique allows you to capture the details and textures of the artwork without distractions.
By incorporating these techniques into your artwork photography process, you can enhance the quality, accuracy, and impact of your photographs. With precise white balance, a wide range of values, and minimized glare, your artwork will shine in its truest form.
Tips for Photographing Artwork with Texture and Dimension
When it comes to photographing artworks with surface texture and dimension, there are a few important techniques to keep in mind. These considerations will ensure that you capture the unique characteristics of the artwork accurately and showcase them effectively.
Raking Light:
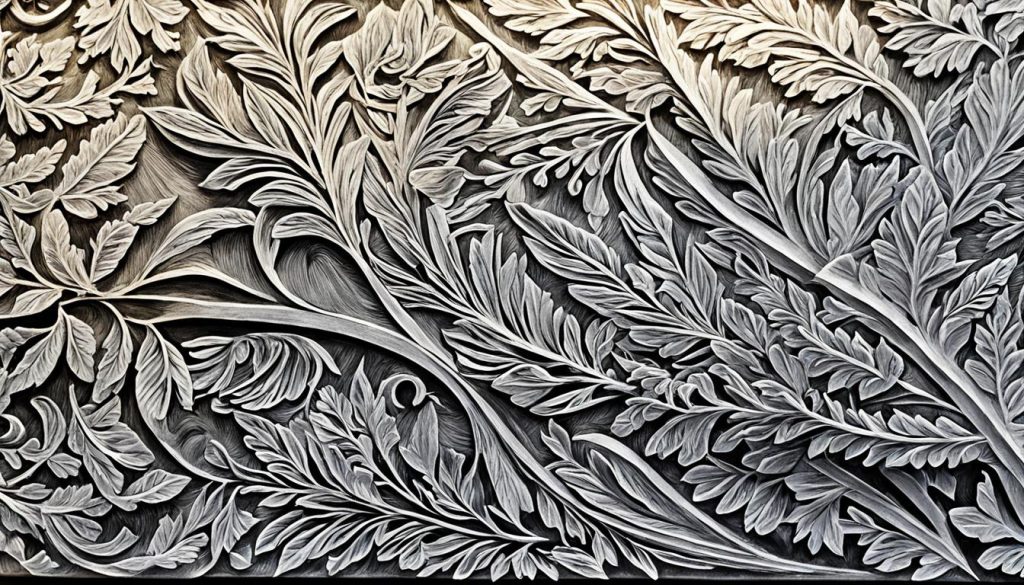
One of the key techniques for photographing artwork with surface texture is using raking light. Raking light is a light source that comes from the side, creating shadows that emphasize the three-dimensional qualities of the artwork. This technique helps highlight brushstrokes, texture, and other surface details, enhancing the overall visual impact of the photograph.

“Raking light is a game-changer when it comes to capturing the texture and depth of a painting or sculpture. It adds an extra layer of visual interest and brings out the artist’s technique beautifully.”
Handling Non-Flat Artwork:
When dealing with non-flat artwork, such as rolled paper or sketchbooks, it’s important to secure them properly during photography. Using a backing or bulldog clips can help keep the artwork in place and prevent any movement or distortion. This ensures that every detail of the artwork is captured accurately, without any unintended blurring or warping.
Tips for Handling Non-Flat Artwork:
- Place the artwork on a stable surface and secure it with a backing to keep it flat.
- For rolled artwork, carefully unroll it and use weights or tape to keep it flat.
- When photographing sketchbooks or other bound artwork, use bulldog clips to keep the pages open and prevent them from closing or blocking the view.
By utilizing raking light and employing techniques for handling non-flat artwork, you can effectively capture and showcase the unique characteristics of artwork with texture and dimension. These considerations will result in stunning photographs that truly represent the artist’s intentions and craftsmanship.
Conclusion
Photographing artwork is an essential skill for artists looking to showcase their work online or in galleries. By implementing the expert tips and techniques discussed in this article, you can significantly enhance the quality and accuracy of your artwork photographs.
Choosing the right lighting for art photography is crucial in capturing the true colors and details of your artwork. Whether shooting outdoors or indoors, using diffused lighting sources and ensuring consistent light temperatures will help achieve the best results.
Setting up your camera correctly is another important aspect of professional art photography. Utilizing a DSLR camera with the appropriate lens, such as a macro lens, and stabilizing the camera using a tripod or other means will ensure sharp and focused images. Don’t forget to adjust the camera settings to the highest resolution to capture fine details.
Lastly, employing techniques like adjusting white balance, exposure blending, and using raking light for textured artwork can greatly enhance the overall quality of your photographs. With these tips and techniques, you can capture your art like a professional and create stunning documentation of your artwork.
FAQ
How important is it to photograph artwork?
What is the role of lighting in artwork photography?
What are some tips for choosing the right lighting for artwork photography?
What camera equipment is recommended for artwork photography?
What are some techniques for enhancing artwork photography?
How can I photograph artwork with texture and dimension?
What are some additional tips for photographing artwork?
Share this content:


